Managing your chests
How to create, manage and delete chests in Recrypt

Recrypt
Last Update 5 years ago
How to create a chest
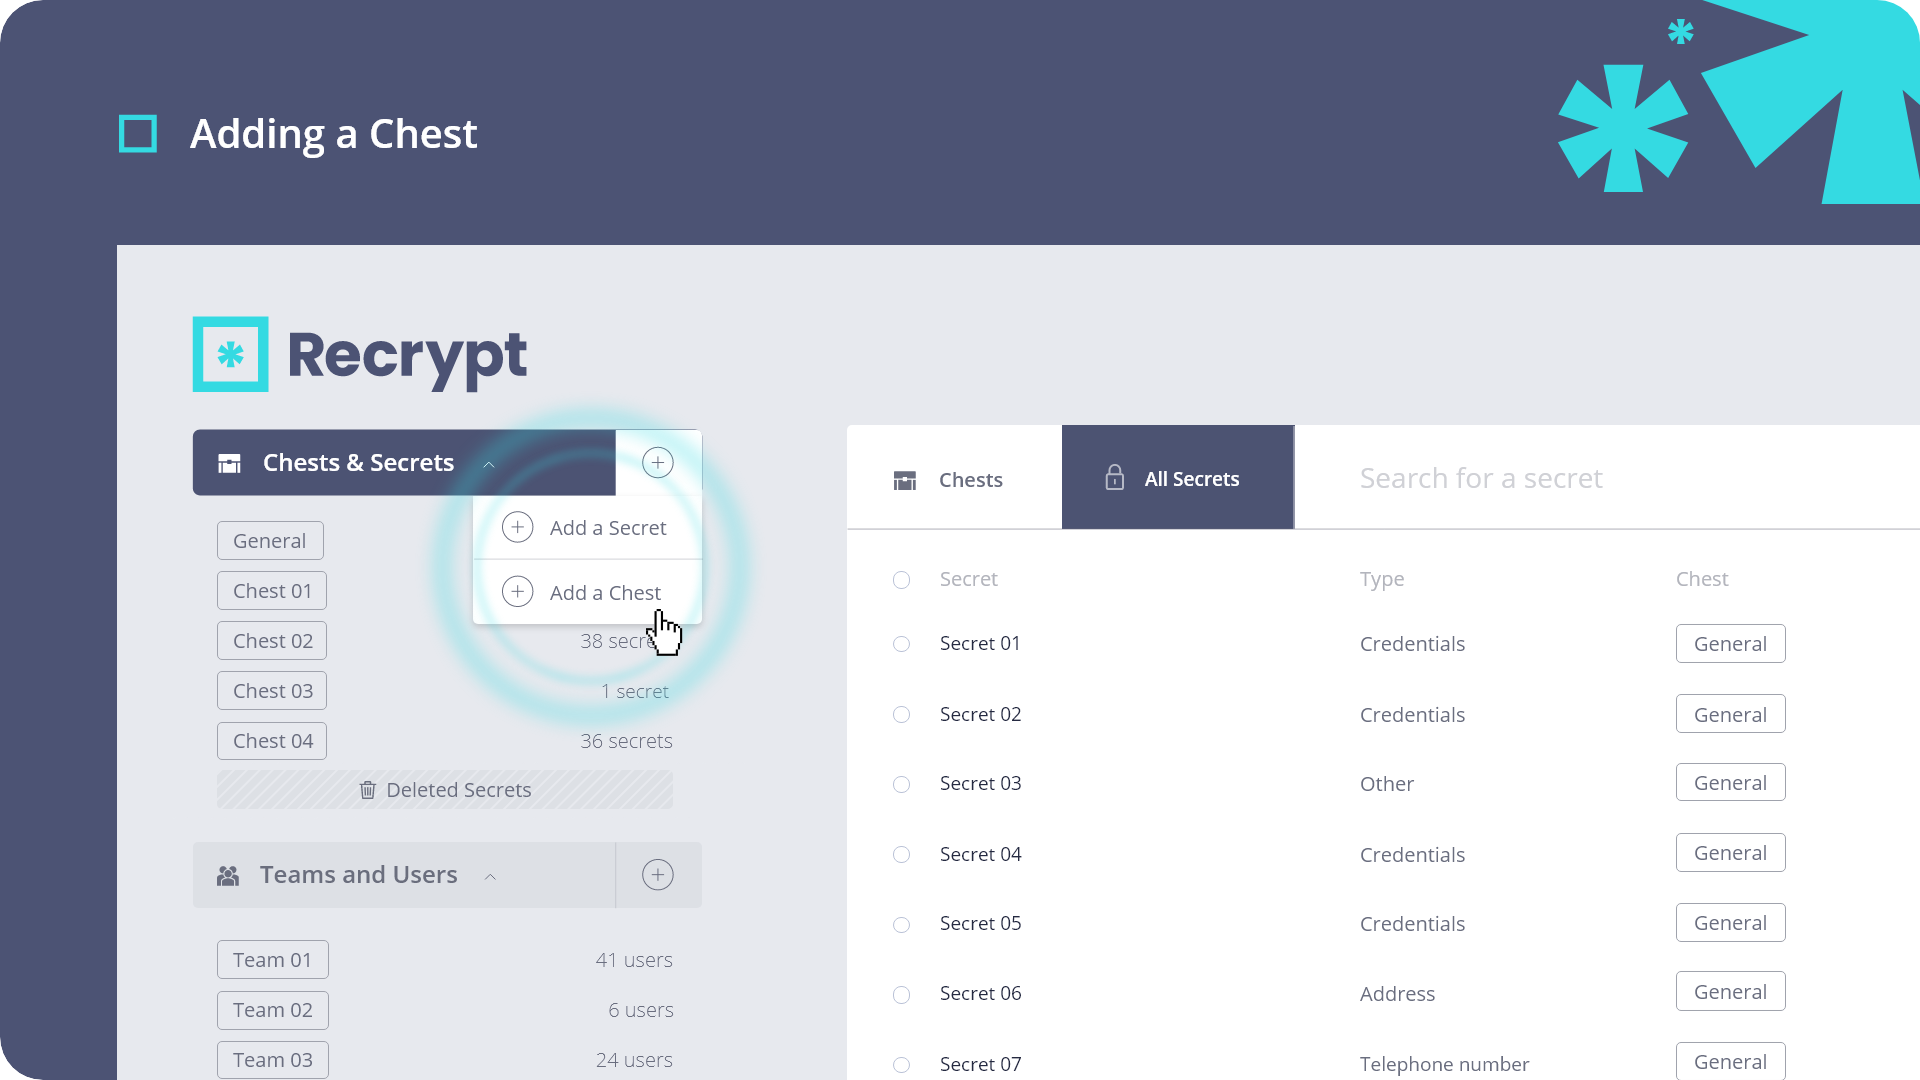
A chest is a secure location for a set of secrets to be stored with particular permissions to restrict access. Administrators have the ability to create chests in Recrypt in the admin area, accessed by selecting the cog icon in the top-right corner of the main screen. Selecting the ‘+’ icon next to the ‘Chests & Secrets’ option will open a drop-down menu; select ‘+ Add a Chest’. You can then add the chest’s name and assign the teams that will have access to the secrets in the chest. You can also update individual user permissions for fine-grain control over access.
How to update chest permissions
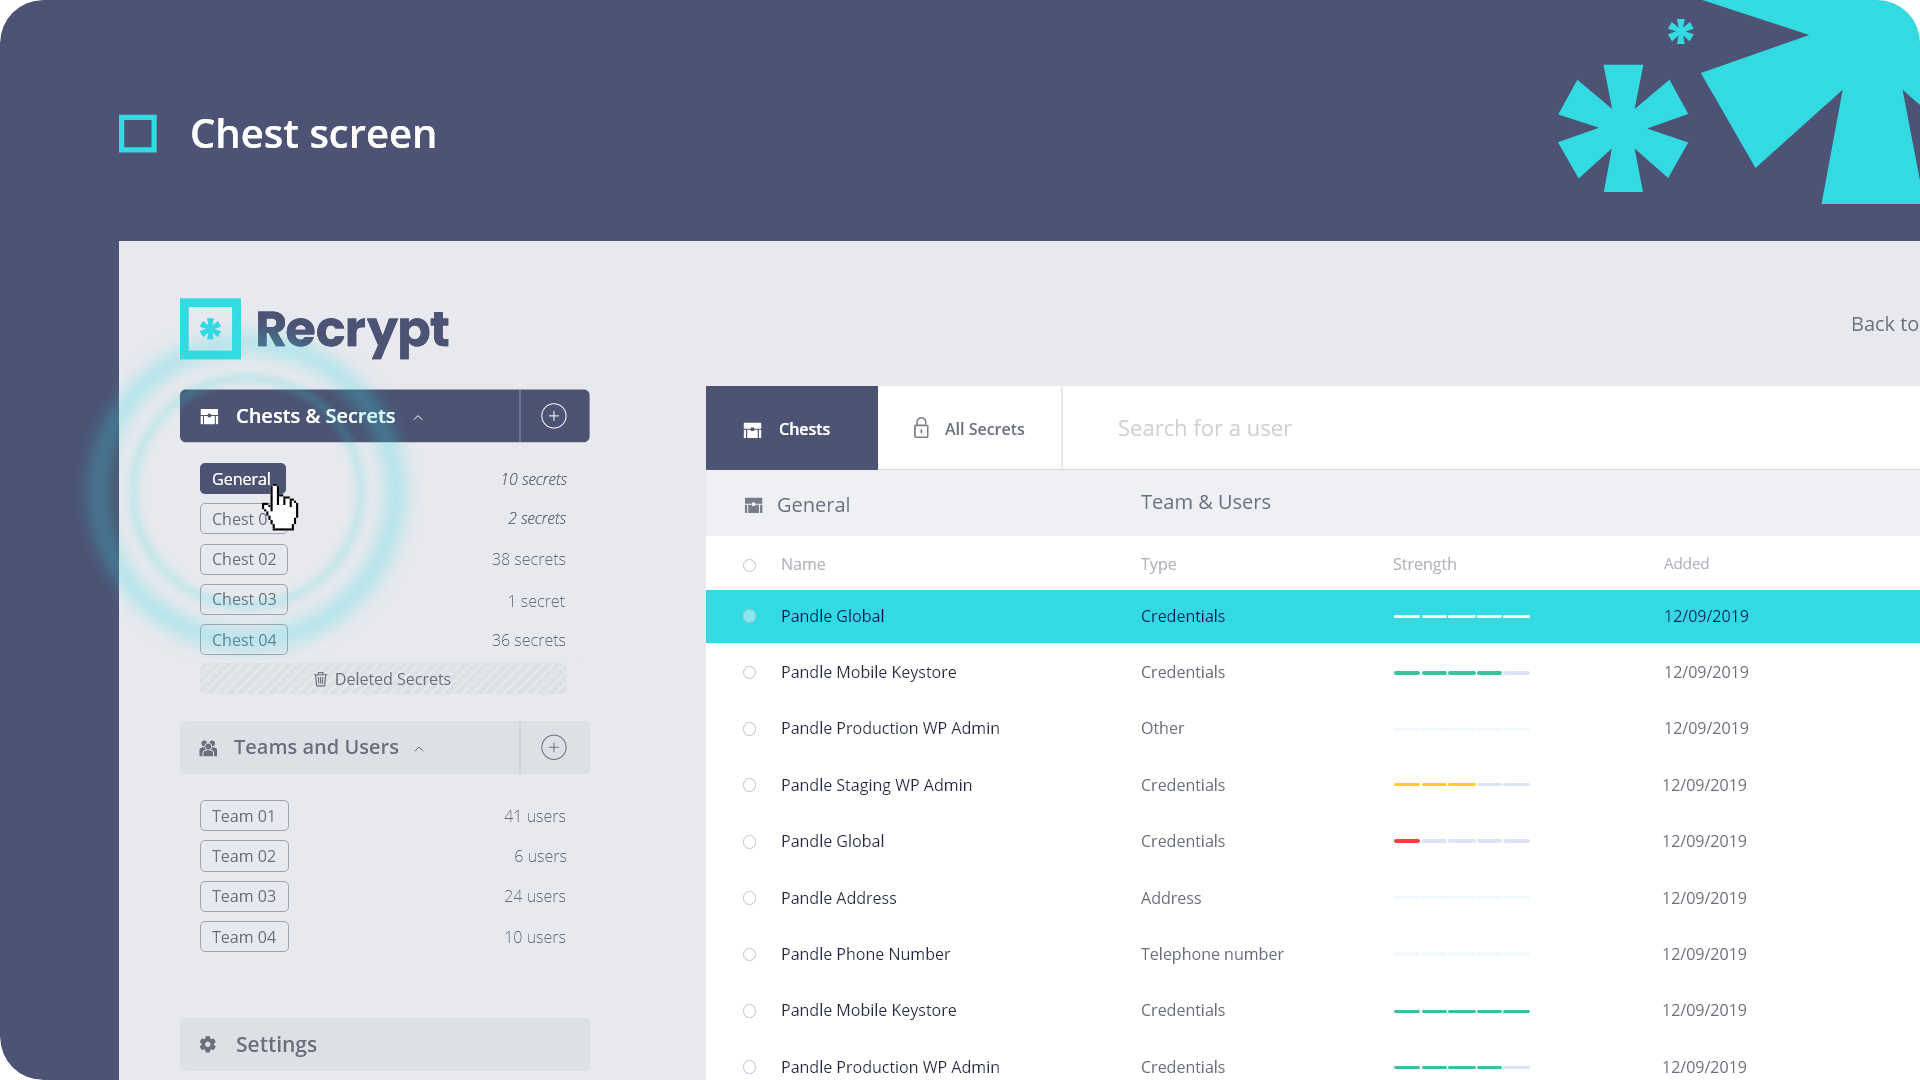
You can change the permission levels for access to certain chests for individual teams. This gives you even greater control over what exactly your team can do. When creating a new chest, you can specify the permission levels of each team under the ‘Chest Permissions’ heading. You can specify a permission for a team to be either ‘Read’ or ‘Write’. You can then edit the individual permission levels for each user who has access to the chest in the ‘User Permissions’ heading. As with teams, you can assign either read or write permissions.
How to delete a chest
Administrators and owners have the ability to delete chests from within the admin area of Recrypt. Viewing all of your organisation's chests by selecting the 'Chests' tab, hover over your selected chest to delete and click on the menu to the right-hand side. From the dropdown, select 'Remove Chest' to delete it from Recrypt. You'll be prompted just to make sure you're ready to delete the chest.
Be careful, deleting a chest will immediately permanently delete any secrets stored inside as only administrators or owners can perform this action. To soft delete secrets, see our guide here.